


 |
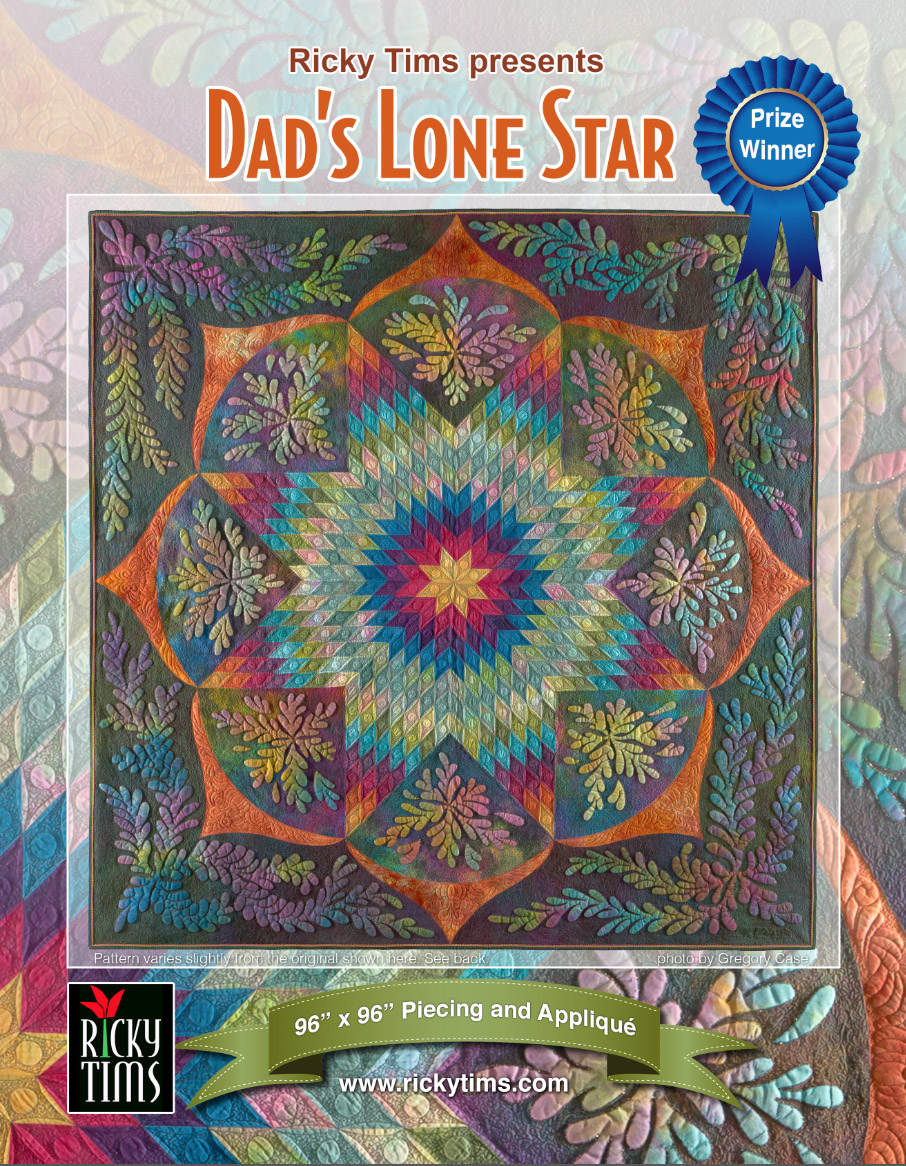
IT’S HERE: DAD’S LONE STAR!
KITS/PATTERNS ON DEMAND
These are Pre-Orders ONLY. Kits are dyed-to-order at our studios in Colorado and take time. The large, full-size patterns are also printed on demand and are only available via Pre-Order.
Orders are shipped in order they are received.
ORDERS BEGIN SHIPPING EARLY DECEMBER!
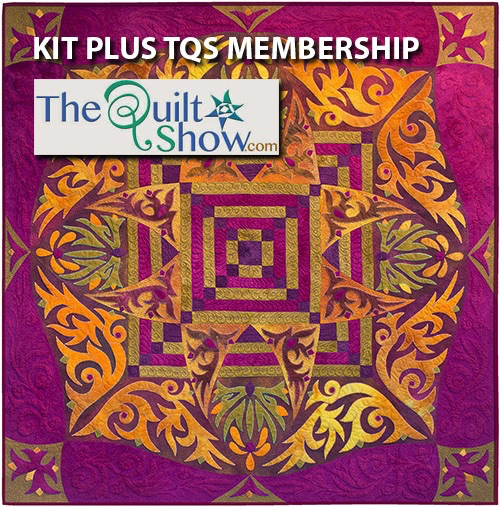
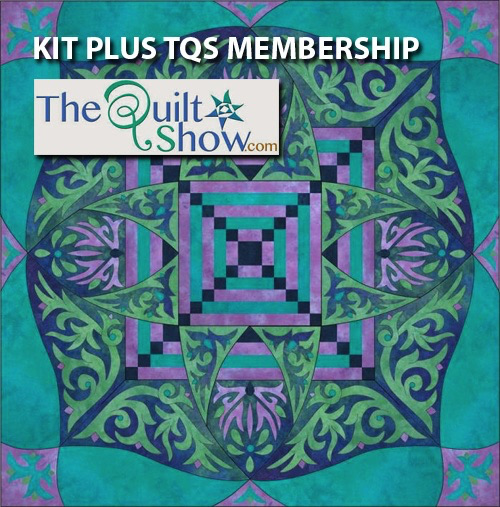
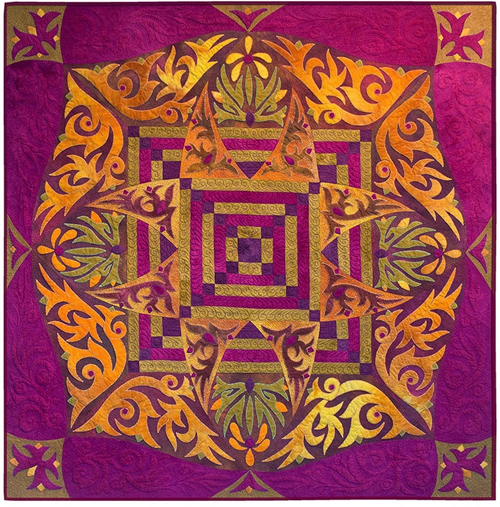
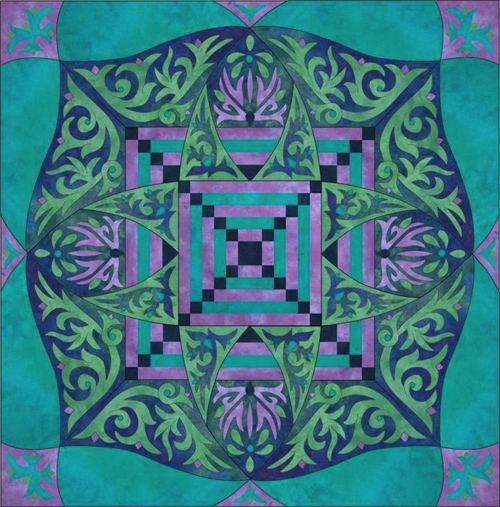
Ricky’s most requested pattern/kit is finally here!Dad’s Lone Star (96” x 96”) is a quilt that was made by Ricky and his father, the late Richard Tims. This quilt is believed to be the only father/son quilt to win awards in international quilt shows such as AQS and IQA. Their stunning collaborative quilt features flowing feathered appliqué and a glorious undulating pieced frame. This quilt is sure to be a prize-winner for you too!
|
|
|
KIT - regular price $539.95
INTRODUCTORY OFFER $339
Save $200 - over 40%
(additional coupons or offers not valid for this item)
The kit includes 18 yards of hand-dyed fabric (a $450 value), plus the pattern and instructions (an $89.95 value). This $539.95 kit value is offered for $200 dollars off. Save over 40%! The kit includes all the fabric for the quilt top in the original colors shown* plus binding (backing and batting not included). The patterns are full size**. Rotary cutting instructions are provided for the lone star and assembly. Instructions include Ricky’s method for raw-edge, fused appliqué with blanket stitch, the main quilting design, and machine trapunto instructions.
 |
PATTERN - regular price $89.95
INTRODUCTORY OFFER $74.95
(additional coupons or offers not valid for this item)
The pattern for Dad’s Lone Star is printed full size on large templates. It includes rotary cutting instructions for the center lone star and assembly. It also includes Ricky’s method for raw-edge, fused appliqué with blanket stitch, the main quilting motifs, and instructions for machine trapunto.
*colors are dyed to be as close as possible to the original quilt and some slight variances may occur.
**slight alterations from the original border appliqué have been included in order to minimize the amount of fabric required.
 |
4 comments